

IPTV Setup Tutorials
👇 Choose your device below and scroll down to see the installation guide
But other players like Hot Player, iMPlayer require you to buy their own paid license after the trial
Example: Your subscription is the SIM card you still need a phone (the player app) to use it.
If you require support, email: itsupport@aubretia.ca.
Fire TV Stick Setup Guide
Choose Your Learning Style


Android TV Setup Guide
Method 1: Using Downloader App
-
Search for Downloader in the Play Store and tap Install

-
Press Allow when prompted

-
Click OK to confirm and proceed

-
Downloader is ready - now install V12Mate

-
Enter the Downloader code for V12Mate: 2494311 → press GO

-
Accept Privacy Policy → Install → confirm Install again if asked


-
Press Install → wait until installed

-
When complete, press OPENVery Important: If you already have Tivimate installed, please uninstall it first - otherwise V12mate will not install

-
Press Add playlist

-
Press V12MATEIf you only see "Cancel", click this link to fix it 👉 CLICK HERE

-
Enter your Credentials - (No server URL is needed since it's our player.)

-
Press Next, Make sure to keep VOD and TV channels selected

-
Wait for it to process, (about 1 minute)

-
Press Done, wait few seconds. You're ready to watch!If No Channels Load And Content Count Doesn't Show, Your Login Details Are Wrong. Go to Settings → Playlists → V12Mate → Xtream Codes Parameters and double-check your username and password, including capital letters. If they're incorrect, no channels will appear

Method 2: Google Play Store (If V12Mate doesn't work for you)
-
Open Google Play Store on your Android TVVery Important: VOD on TiviMate only works with their Premium. Our service (trial & subscription) already has VOD built in.

-
Search for TiviMate IPTV Player and click Install
-
Open TiviMate, select Add Playlist, choose Xtream Codes
-
Enter your IPTVV credentials (Server URL, Username, Password)
Frequently Asked Questions
iPhone & iPad Setup Guide
Important Notice
Please read this before continuing.
This app is a third-party app and is
NOT owned, sold, or managed by us.
Some apps may require you to purchase their own license or upgrade to
premium to unlock full features.
This tutorial is only to help you set it up with your subscription.


Windows & Mac Setup Guide
Method 1: IPTV Smarters Pro Setup
-
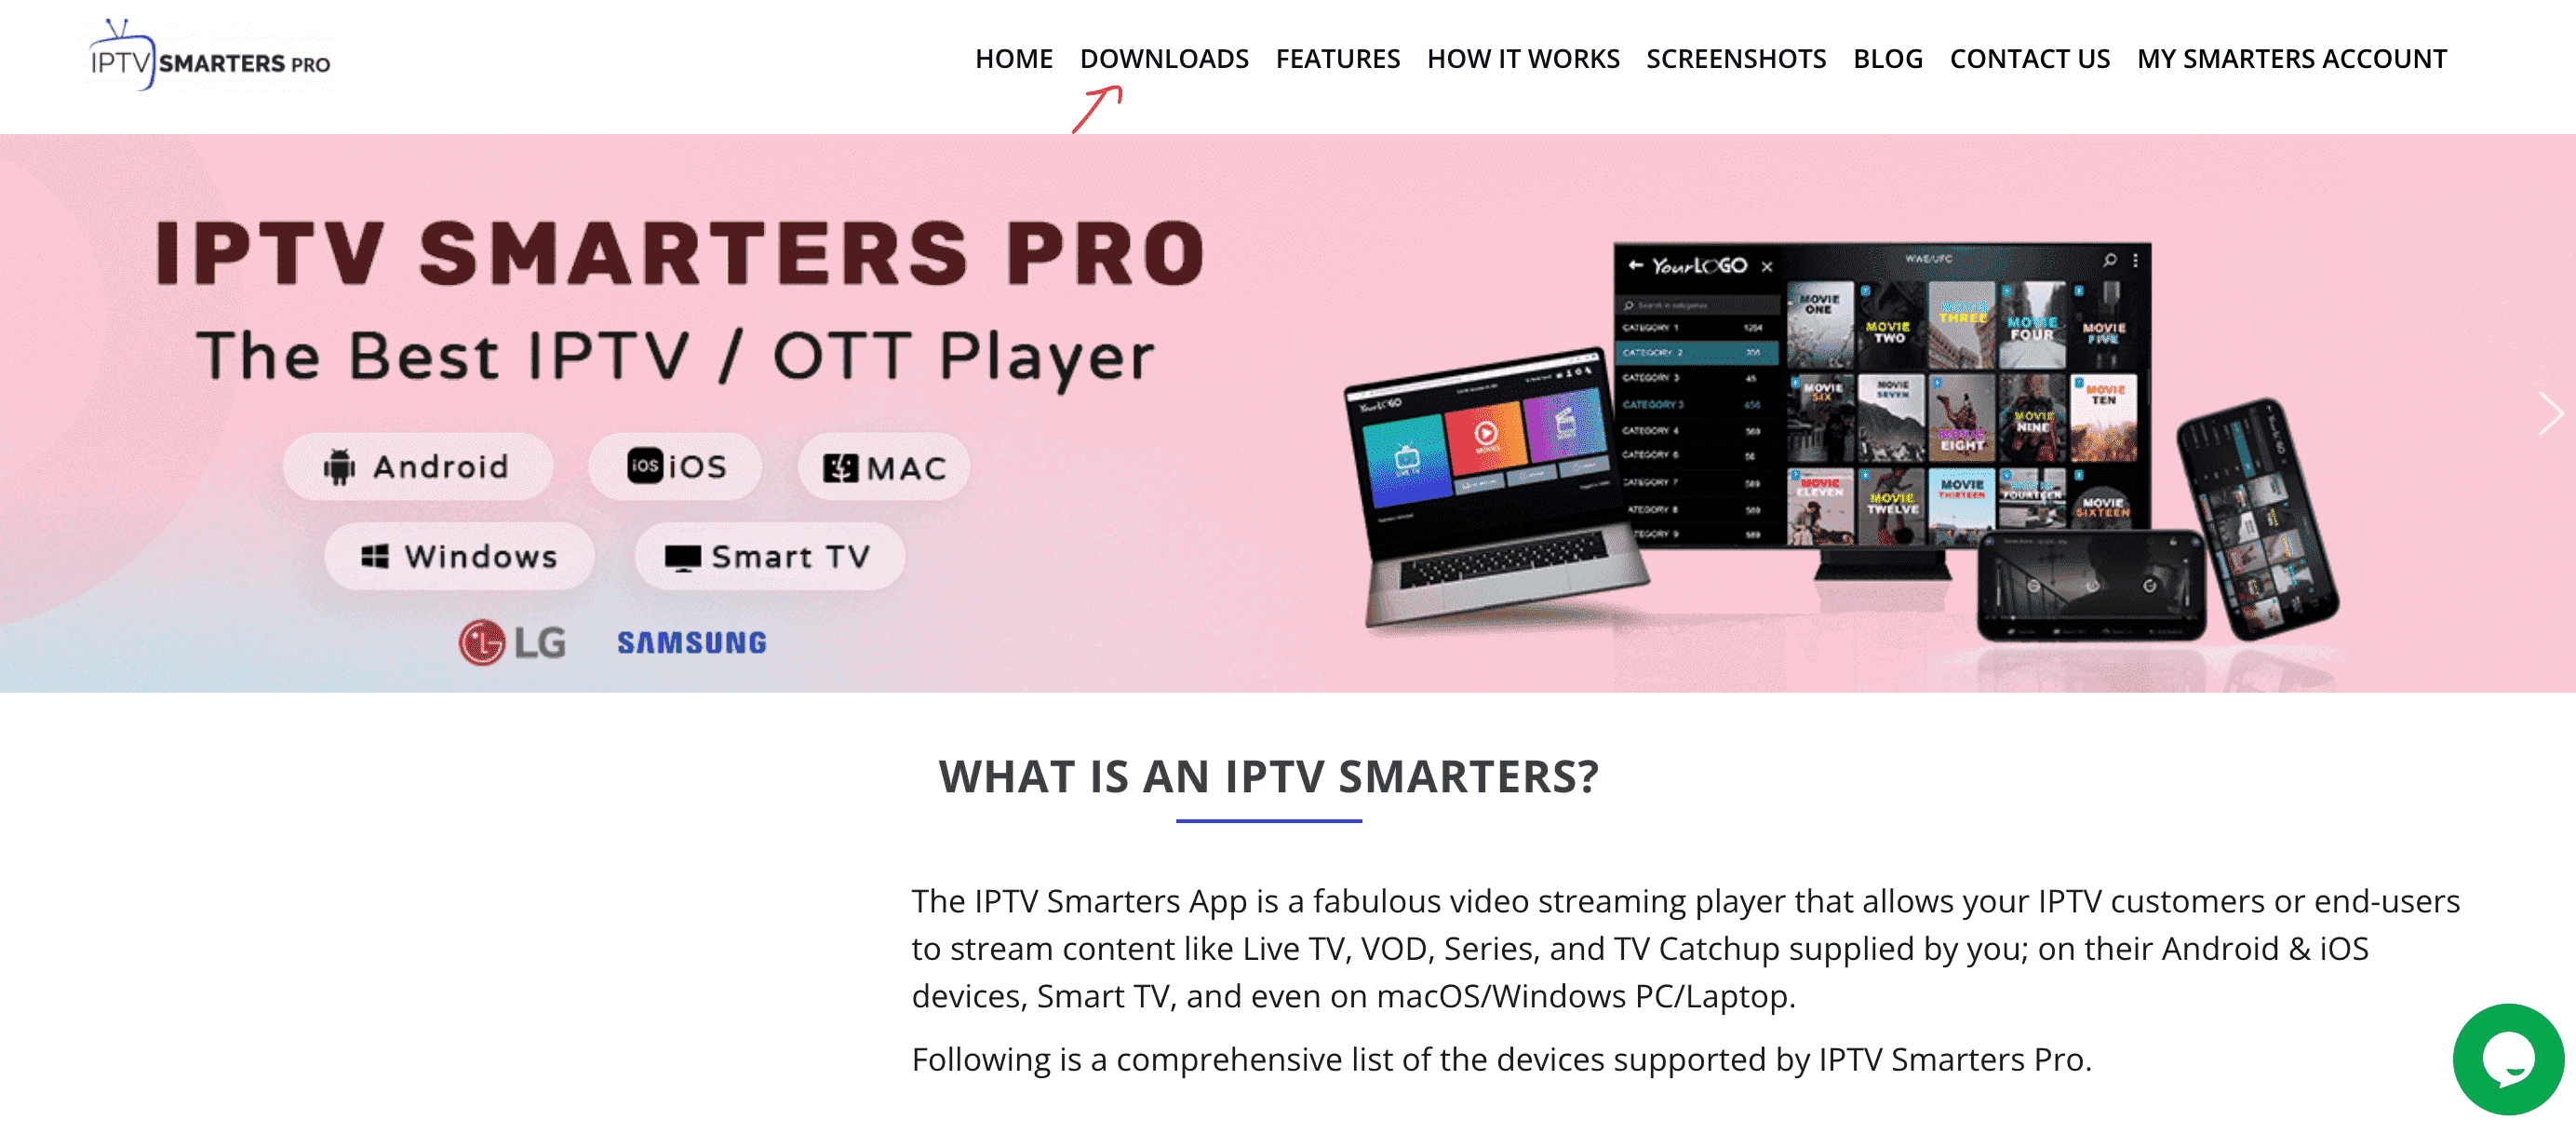
Open a browser and type "IPTV Smarters Pro" into the search bar
-
Go to the official website: https://www.iptvsmarters.com
-
Click on the "Downloads" section in the website menu
-
Download the Windows or Mac version of IPTV Smarters Pro

-
Once the download completes, open the installer by clicking on the downloaded file
-
If Windows asks for permission, click "Yes" to allow the app to install
-
The installation will now begin. It typically takes under 2 minutes
-
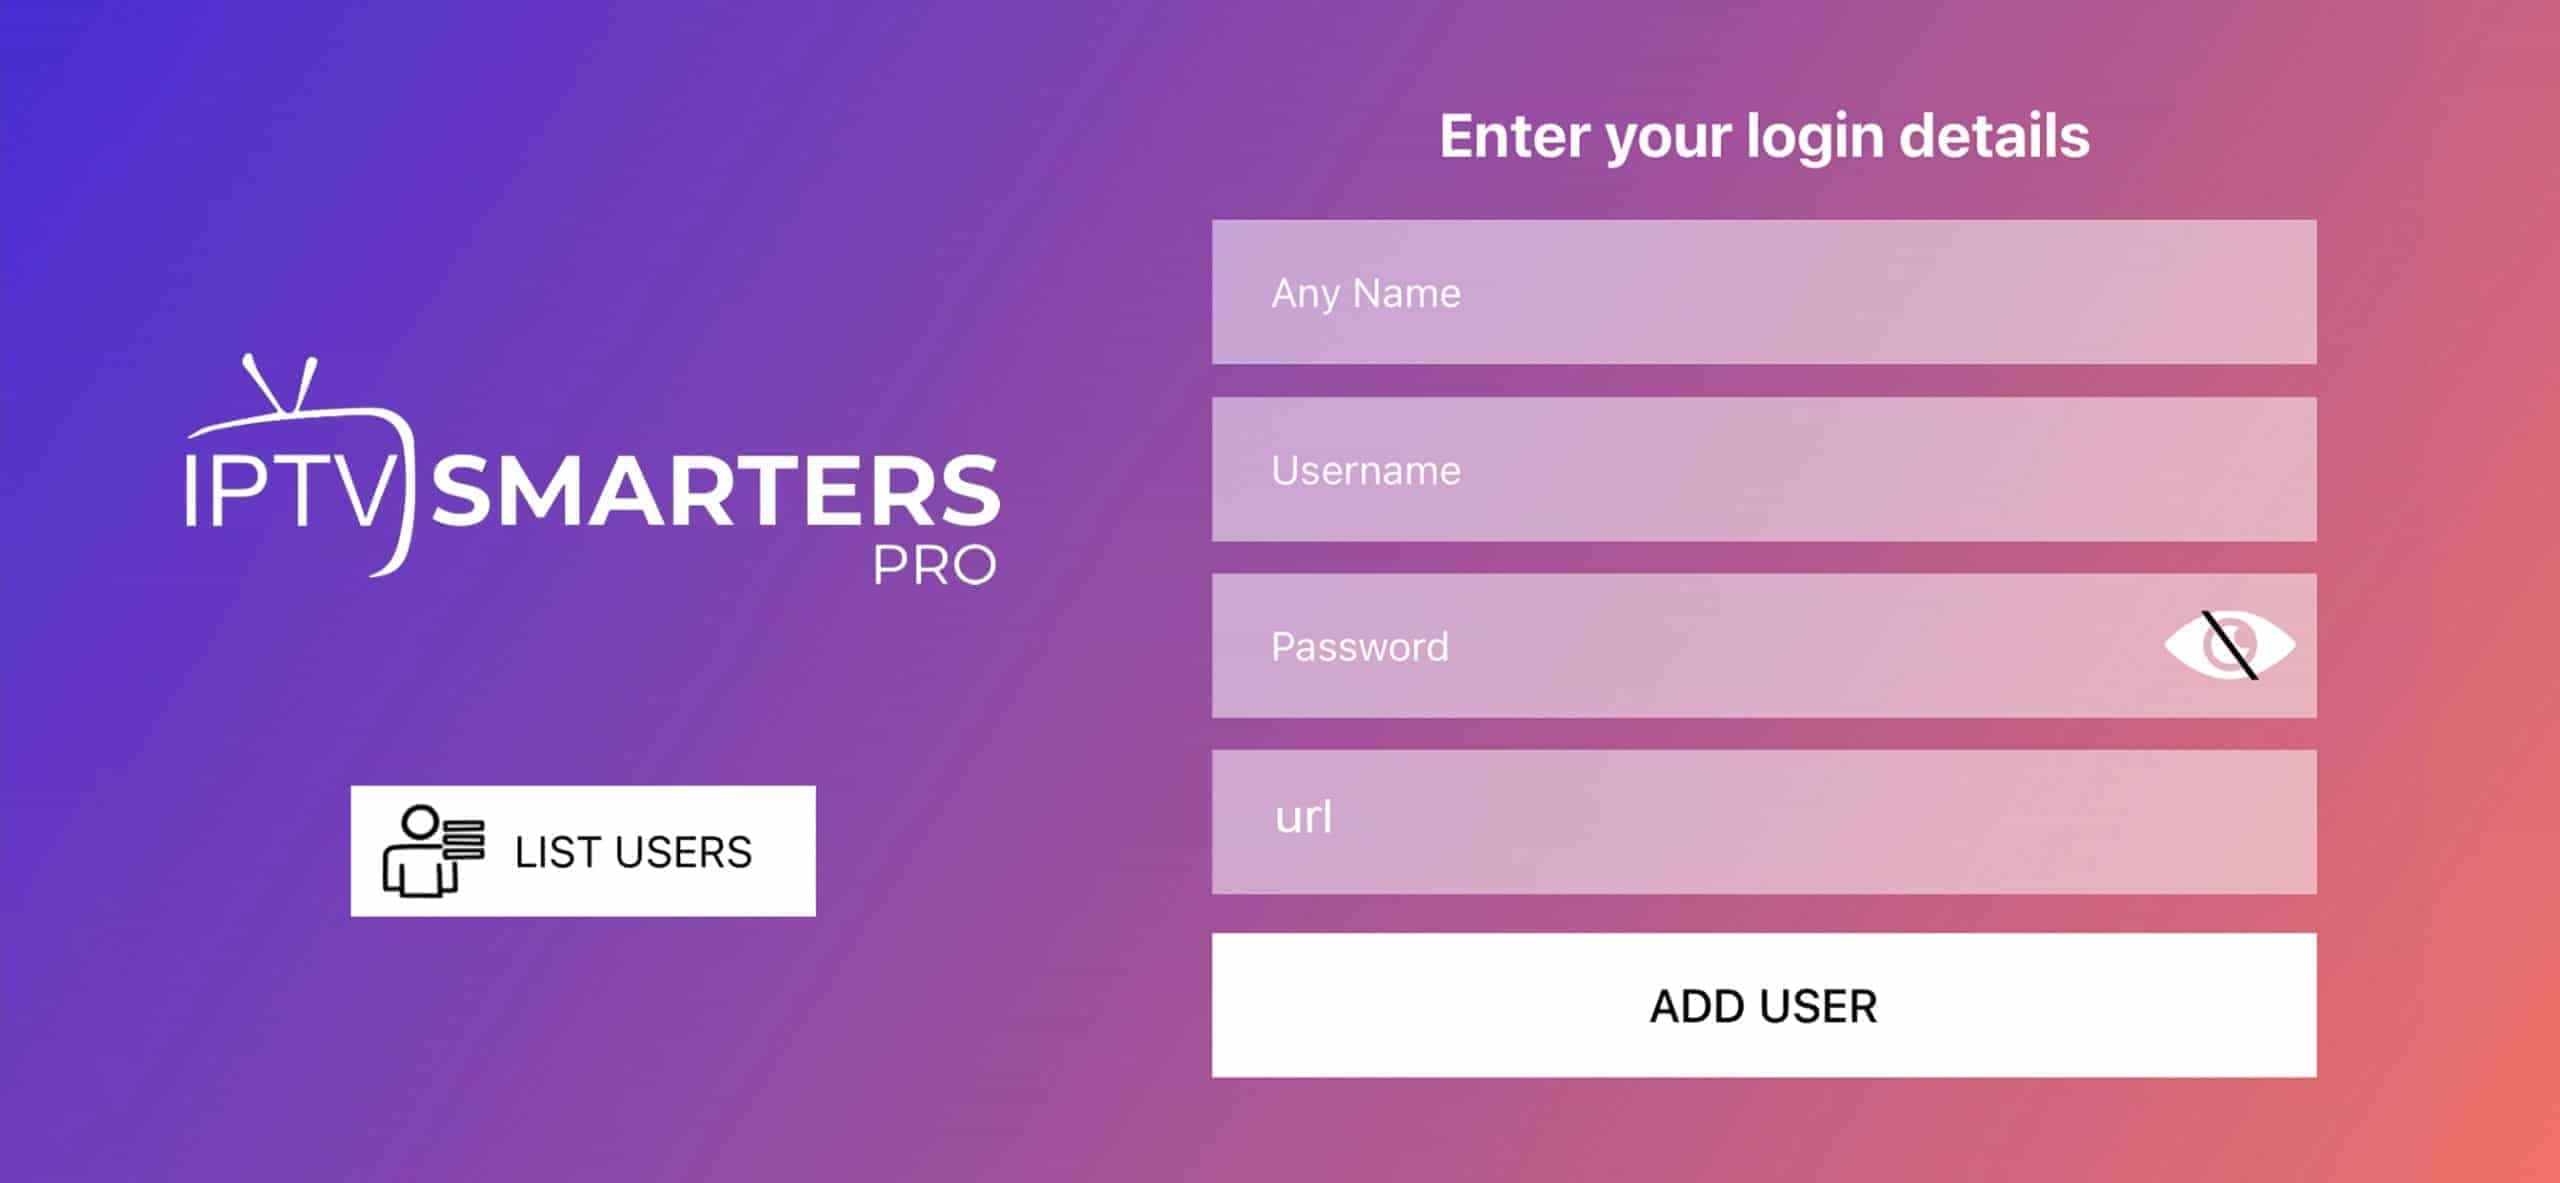
Once installed, launch the IPTV Smarters app. Click Add New User, then choose "Login with Xtream Codes API"
-
Enter your IPTV account details: Username, Password, and Portal URL
-
That's it! You're ready to start streaming with IPTV Smarters Pro
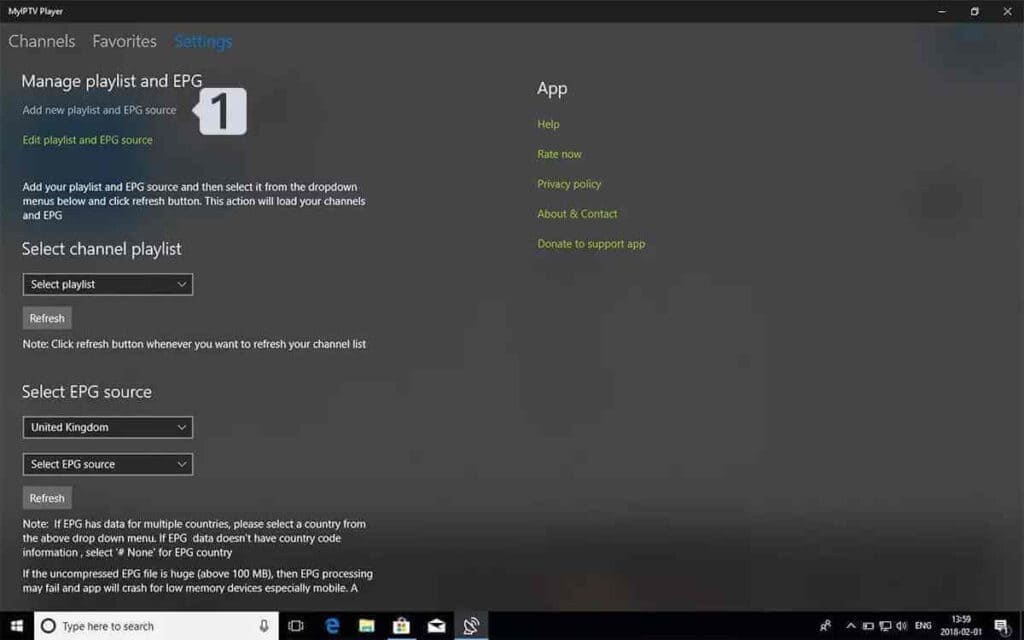
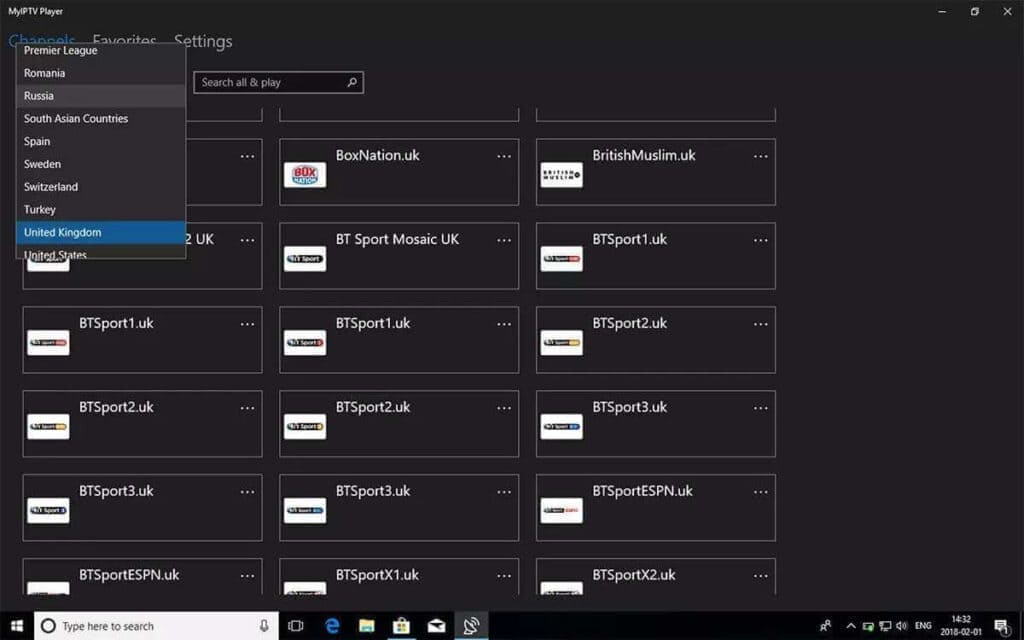
Method 2: MyIPTV Player (Windows 10/11)
This is a powerful media player with built-in EPG support for Windows 10, Windows Phone, and Xbox One.
Download from Microsoft Store
-
Go to the Settings tab, then click on "Add new playlist and EPG source"
-
Add your M3U playlist:
- Name: Give your playlist a name (e.g. "IPTVV")
- URL: Paste the M3U link you received from your IPTV provider
- Click on Add remote list
-
Go back to Settings and choose your playlist from the Select Channel Playlist dropdown

-
Done! Go to the Channels tab, choose your country, and start watching your favorite TV and VOD content
Frequently Asked Questions
Android Phone & Tablet Setup Guide
Important Notice
Please read this before continuing.
This app is a third-party app and is
NOT owned, sold, or managed by us.
Some apps may require you to purchase their own license or upgrade to
premium to unlock full features.
This tutorial is only to help you set it up with your subscription.


Roku Device Setup Guide
Important Notice
Please read this before continuing.
This app is a third-party app and is
NOT owned, sold, or managed by us.
Some apps may require you to purchase their own license or upgrade to
premium to unlock full features.
This tutorial is only to help you set it up with your subscription.


Smart TV Setup Guide - All Brands
Important Notice
Please read this before continuing.
This app is a third-party app and is
NOT owned, sold, or managed by us.
Some apps may require you to purchase their own license or upgrade to
premium to unlock full features.
This tutorial is only to help you set it up with your subscription.
BuzzTV Setup Guide
Method 1: XC API Login (Recommended)
-
From your BuzzTV home screen, navigate to Server Settings

-
Select XC API Login → Add XC API Login

-
Configure your Xtream Codes connection:
- Portal Name: Enter any name (e.g., "My IPTV")
- Portal URL: Enter your server URL
- User name: Enter your IPTV username
- Password: Enter your IPTV password
-
Press "Connect" or "Save" to establish the connection
-
Return to home screen and select Live TV to start watching!
Frequently Asked Questions
Formuler/Dreamlink Setup Guide
Formuler Z: MyTVOnline 2 & 3
-
Open MyTVOnline 2 or 3 from your Formuler home screen
-
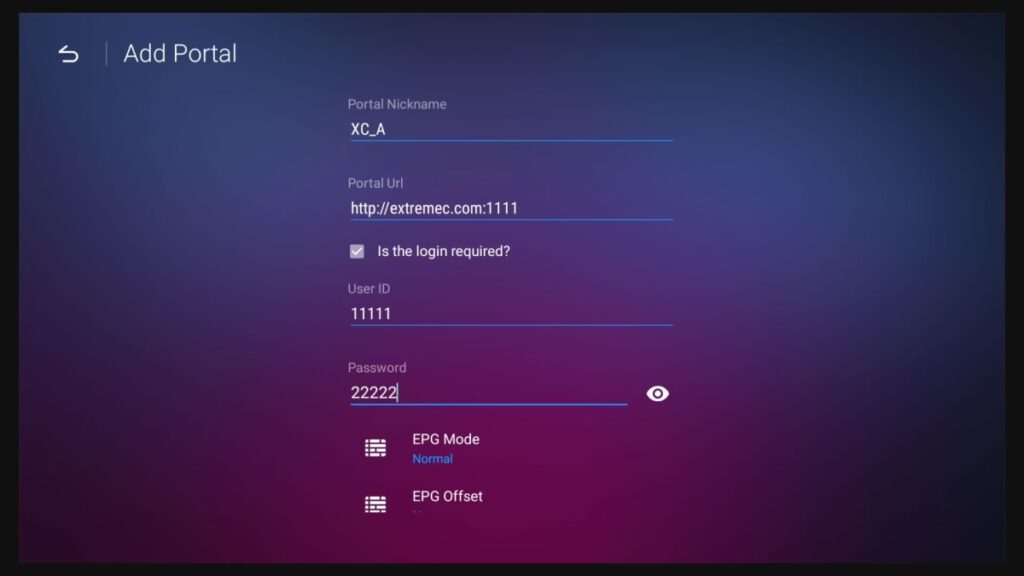
Navigate to Menu → Connections → Add Portal
-
Configure your Xtream Codes connection:
- Portal Name: Enter any name (e.g., "My IPTV")
- Portal URL: Enter your server URL
- Login Required: Enable this option
- Username: Enter your IPTV username
- Password: Enter your IPTV password -
Press "Connect" to establish the connection
-
Your channels should now load and you're ready to watch!
Dreamlink: DOL2 App
-
Open DOL2 App from your Dreamlink home screen

-
Go to Menu → Portals → Edit Portal

-
Enter your portal configuration:
- Portal Title: Any name you prefer
- Portal URL: Your IPTV server URL
- Login Required: Yes, activate this
- Username: Your credentials
- Password: Your credentials -
Save the configuration and restart the app to connect
Portal: http://iptv-server.com
Username: abcdef
Password: 123456
Frequently Asked Questions
Start now. Don’t hasitate to test our service
Test account. Get full access to all channels and VOD
FREE/ 24h
No payment if you are not satisfied
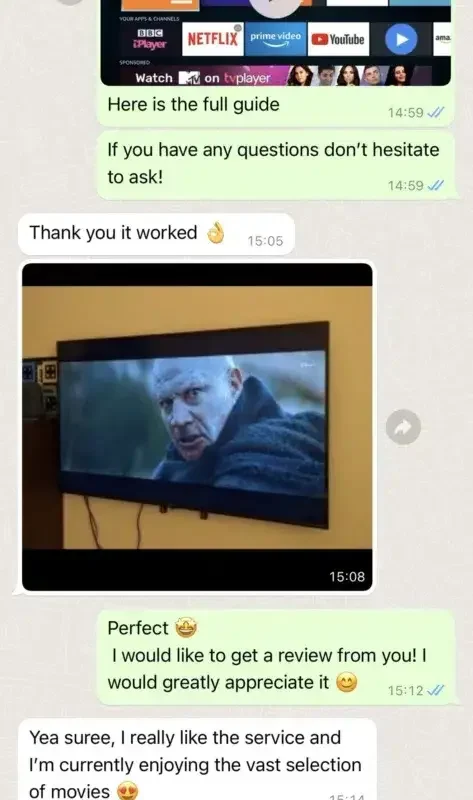
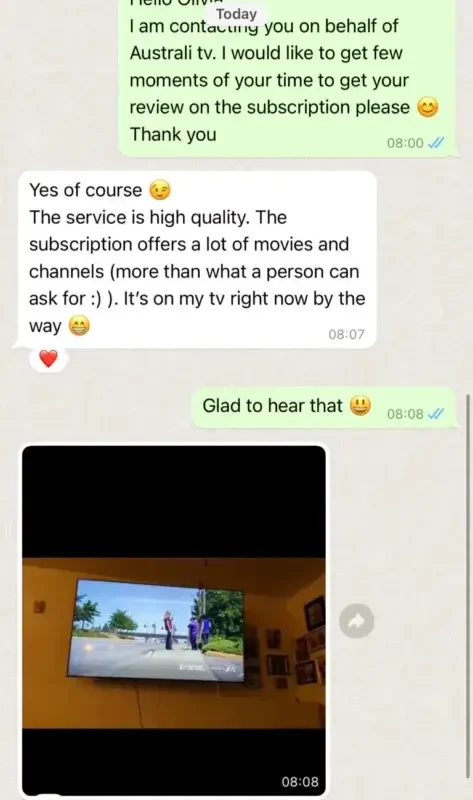
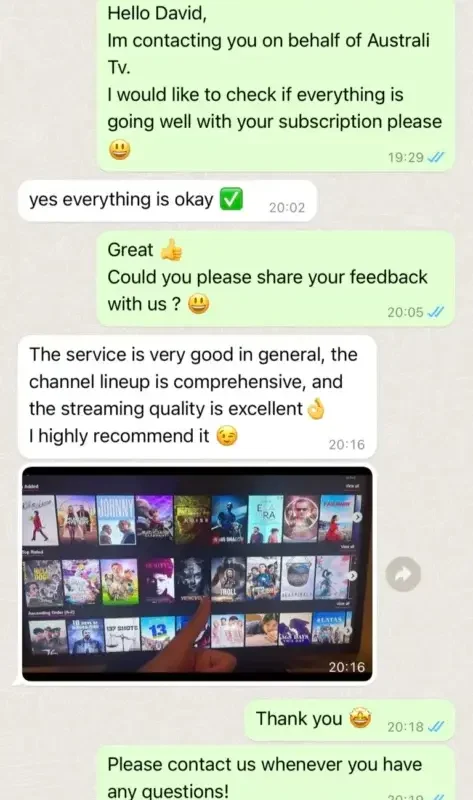
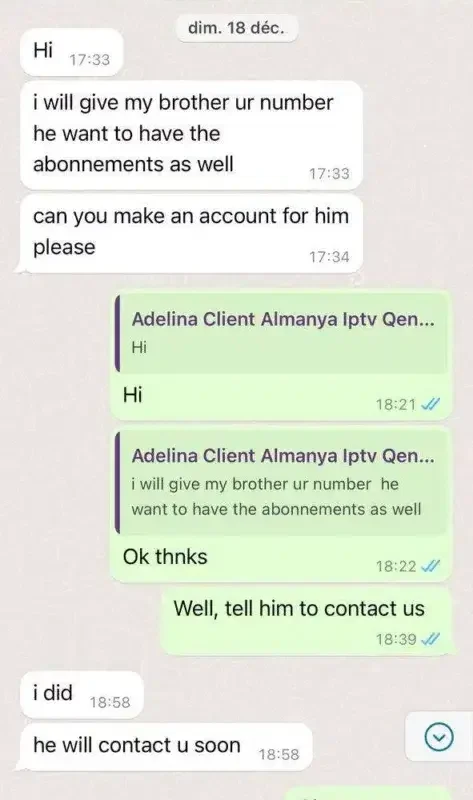
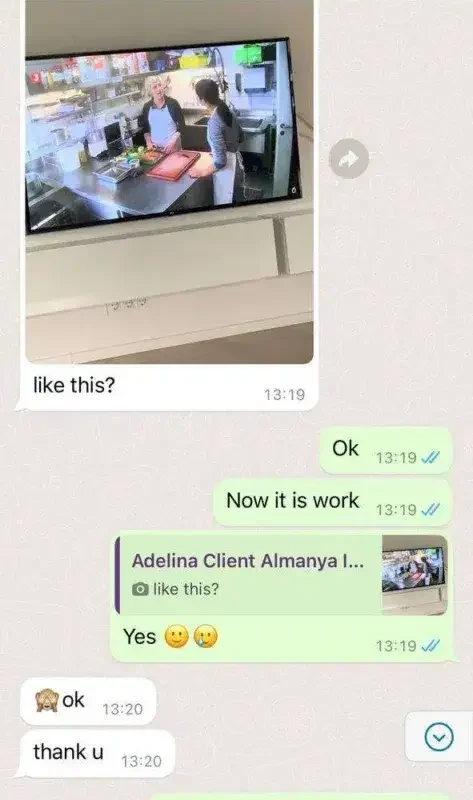
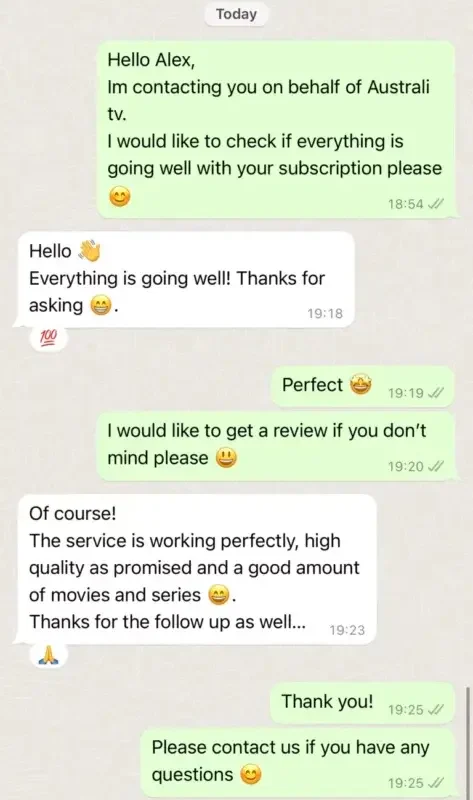
Being Nice Shouldn’t Be An Afterthought
The reviews are in and we’re as obsessed with your internet as you are.

Emily R.
Finally found a reliable IPTV service! Over 120,000 movies and shows available instantly. Perfect picture quality on my Smart TV and mobile devices. Highly recommended!

Michael S.
The streaming quality is exceptional, and customer support is always there when needed. Over 25,000 channels, zero buffering, and incredible VOD selection. Best IPTV service I've found in the US.

Britteney A.
Reliable, fast, and easy to set up. The channel selection is extensive, and everything runs smoothly across all my devices.

Sarah M.
Been using NIPTV.live for streaming sports and movies for over 6 months now. The 4K quality is amazing and no more buffering issues. Customer service responds within minutes!
Find what you want to know
NPTV.live is a streaming platform that offers a variety of TV channels and movies. It is designed to provide a seamless viewing experience with features such asparental controls, personalized recommendations, and offline payback.
No need "Tech Savvy". You just download the app on your TV and you could tell what to do.
To use NIPTV.live, visit the official website and follow the subscription process. You'll need to provide some basic information like yoyou want to subscribe to. Once your selection and payment arecomplete, you will be able to use and start exploring the platforn.
NIPTV.live can be accessed on a variety of devices, includingsma tphones, tablets, smart TVs and set-top boxes. You can also access the Platform on your computer using a web browser.
To change your subscription plan on NIPTV.live, you need to enterour official website and contact our service staff on the official website or send us an email tossible. Generally, the processingsend your request to change the package. We will respond aftereceiving your request. We will process it for you as soon as po time does not exceed 6 hours.
Yes, NIPTV.live allows you to download content for offline viewing. completed, you can download the content to watch later even To do this, you need to enable the "Offline Mode" feature in your account settings. Once vithout an internet connection.